
- Home
- Adhesive Tapes
- Self-adhesive Label
- Label Jumbo Roll
- Solutions
- About Us
- News & Insight
- Resources
- Contact Us

Views: 0 Author: Site Editor Publish Time: 2026-08-06 Origin: Site


Hanging wall decor presents a unique challenge. You want your favorite pieces secured reliably. However, you also want to avoid costly damage to your drywall and paint during removal. It often feels like a gamble.
When an adhesive fails, gravity quickly takes over. This results in shattered frames, broken decor, and potential safety hazards. Conversely, overly aggressive adhesives grip too hard. They tear away layers of paint or drywall paper upon removal, leaving you frustrated and facing expensive wall repairs.
Selecting the right Double Sided Tape requires careful consideration. You must evaluate surface energy and assess your load-bearing requirements. Furthermore, you need to understand the specific chemical properties of the adhesive backing. We will guide you through this process step by step. You will learn how to match the right tape to your specific mounting scenario for damage-free success.
Weight vs. Surface Profile: The choice between thin and thick carriers depends on the object's static load and the wall's texture.
Paint is the Weak Link: Adhesive strength is irrelevant if the paint itself separates from the drywall paper beneath it.
Material Matching: Nano Acrylic Tape is best for heavy loads on smooth surfaces; Foam Tape bridges gaps on textured walls; Tissue Tape is optimal for lightweight, temporary mounts.
Application Dictates Performance: Proper surface preparation (isopropyl alcohol) and curing times are mandatory for achieving manufacturer-stated weight capacities.
Wall mounting forces you to balance two conflicting goals. You need maximum holding power to keep items on the wall. Simultaneously, you need a safe release mechanism for future removal.
Decor objects exert different types of forces on adhesives. We primarily deal with shear stress and peel stress. Shear stress occurs when gravity pulls the decor straight down parallel to the wall. Peel stress happens when an object pulls away from the wall at an angle. Deep picture frames or heavily loaded shelves create significant peel stress. Most adhesive tapes handle shear stress well. They struggle significantly with peel stress. You must account for both forces when planning your installation.
Consumers often misunderstand how tapes bond to painted drywall. Standard drywall covered in flat or matte paint creates a highly vulnerable substrate. When you apply tape, it bonds to the top layer of paint. It does not bond directly to the wall structure. If your decor is heavy, the tape might hold perfectly. However, the paint itself might separate from the primer. Alternatively, the primer might tear the paper facing right off the drywall. An adhesive's "heavy duty" rating assumes a structurally sound substrate. Unfortunately, standard residential paint often fails under heavy continuous loads.
How do we define a successful tape application? First, we expect zero slippage during the entire lifecycle of the decor. The item must remain exactly where you placed it. Second, we demand zero residue upon removal. Finally, the tape must leave the underlying paint and drywall entirely intact. Achieving these criteria requires strict attention to material selection and application methods.
Manufacturers engineer different tapes for very specific scenarios. Understanding the carrier material and adhesive chemistry helps you make the right choice.
Nano Acrylic Tape features a clear, gel-like construction. It relies on microscopic nanotech structures for adhesion rather than traditional liquid glues. It remains highly elastic and flexible.
This tape works best for heavy frames and smooth surfaces. It bonds beautifully to glass, tile, and high-gloss paint. Because it is completely transparent, it works well for mounting clear acrylic frames or glass decor.
However, this tape carries a high adoption risk on painted walls. Its incredible grip strength makes it extremely risky for low-quality or older flat paint. Removing it from standard drywall often results in torn paint paper if you pull it incorrectly.
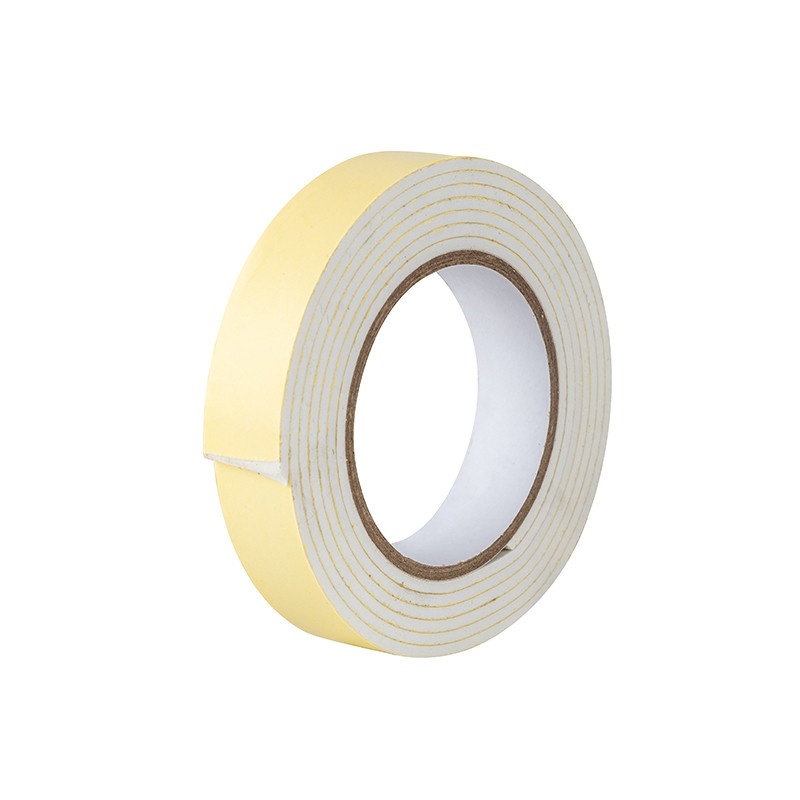
Foam Tape features a thick, compressible carrier. Manufacturers coat both sides of this foam core with strong adhesive.
This construction makes it the best choice for textured walls. The foam compresses and bridges the microscopic gaps found on uneven surfaces. It provides excellent support for acoustic panels and medium-weight rigid decor items. The thickness absorbs minor wall imperfections easily.
The primary risk involves the removal process. The foam carrier often splits down the middle when you try to take it off. This splitting leaves a highly frustrating, sticky residue behind on your wall. You must clean this residue carefully to avoid damaging the paint.
Tissue Tape utilizes an ultra-thin paper or tissue carrier. It typically features a mild to moderate acrylic adhesive on both sides.
It works perfectly for posters, temporary paper banners, and lightweight unframed prints. The thin profile ensures your paper decor sits entirely flush against the wall.
The main limitation is its mechanical strength. It offers virtually zero load-bearing capacity for rigid or heavy objects. Furthermore, standard tissue tapes often degrade quickly in environments with high humidity.
Choosing the right product involves treating your decor project like an engineering task. You must evaluate several critical factors before making your final selection.
You must calculate the required tape surface area based on your decor's weight. Manufacturers provide a pounds-per-inch rating for heavy-duty tapes. For example, if a tape holds one pound per linear inch, a five-pound mirror requires at least five inches of tape. We recommend over-engineering this. Distribute the tape along the entire perimeter of the object. This strategy spreads the static load across a wider area of your wall's paint, reducing the risk of localized tearing.
Surface energy determines how well an adhesive can "wet out" or flow over a surface. You must identify your wall's surface energy category.
Low Surface Energy (LSE) materials repel adhesives. Matte paints, flat paints, and some plastics fall into this category. They prove much harder to bond. You need specialized tackified acrylics for these surfaces.
High Surface Energy (HSE) materials welcome adhesives. Glass, polished metal, and high-gloss paints fall here. They are exceptionally easy to bond. Standard acrylic tapes perform perfectly on HSE substrates.
Surface Energy and Adhesive Compatibility Guide
Surface Type | Surface Energy | Texture Profile | Recommended Tape Base |
|---|---|---|---|
Glossy Paint / Tile | High (HSE) | Smooth | Nano Acrylic / Standard Acrylic |
Matte / Flat Paint | Low (LSE) | Slightly Porous | Modified Acrylic / Rubber-based |
Orange Peel Drywall | Varies | Uneven / Bumpy | Thick Polyurethane Foam |
Bare Wood / Brick | Low (LSE) | Highly Porous | Not recommended for standard tapes |
You cannot ignore the room's environment. Assess the local humidity. Bathrooms and kitchens experience heavy moisture loads. Standard adhesives absorb this moisture and fail over time. You must also consider UV exposure near windows. Finally, evaluate temperature fluctuations. This factor becomes crucial when mounting LED light strips. The lights generate heat, which softens standard adhesives and causes sagging.
Factor in the expected duration of your installation. Are you decorating a dorm room for one semester? Or are you hanging a permanent family portrait? Temporary installations require tapes specifically formulated with low-tack, cleanly removable acrylics. Do not use permanent construction-grade tapes for seasonal holiday decor.
Even the best tape fails if you apply it poorly. Professional application techniques ensure you get the maximum holding power listed on the package.
Wall preparation remains non-negotiable. Walls collect invisible layers of natural oils, cooking grease, and household dust. You must clean the target area thoroughly. Use a 70% isopropyl alcohol solution. It removes oils and dust effectively without degrading standard interior paint. Wipe the area gently with a lint-free microfiber cloth. Allow it to air dry completely before proceeding.
Pressure sensitive adhesives require physical force to activate. We call this the "wet-out" phase. The adhesive must flow into the microscopic pores of the wall.
Apply the tape strips to the back of your decor item first.
Press down firmly on every inch of the tape liner.
Remove the protective liner backing.
Position the item on the wall carefully.
Apply firm, continuous pressure across the item for 30 to 60 seconds.
Skipping this pressure step reduces the tape's holding capacity by up to 50 percent.
Adhesives utilize viscoelastic polymers. They do not reach their maximum strength immediately. They need time to settle and grip the surface fully. You face a critical standard here. You must wait 24 hours before applying the full weight of the decor to the tape. If possible, tape the object to the wall, support its weight with temporary masking tape or a prop underneath, and let the adhesive cure.
Removal causes the most anxiety. You must use specific strategies to prevent drywall damage. Never pull the decor straight outward toward your body. This guarantees torn drywall paper.
Instead, apply heat via a hairdryer on a low setting. Direct the warm air at the edges of the decor. The heat safely softens the acrylic adhesive. Next, use a piece of dental floss. Slide it behind the decor and use a gentle sawing motion. Slice through the foam tape carrier directly. Once the object is off, you can slowly roll the remaining adhesive off the wall using your thumb.
Different decor items demand specific adhesive properties. Let us look at common scenarios and their ideal solutions.
Temporary Banners on Painted Walls: Use thin tissue tape or a specialized low-tack painter's double-sided tape. These options secure lightweight paper without aggressive tack. They peel away cleanly after the event ends.
LED Light Strips: Opt for high-heat resistant nano acrylic formulas. Standard adhesives soften as the diodes warm up, leading to drooping strips. Nano tapes maintain their structural integrity even when exposed to continuous, mild heat.
Framed Art & Mirrors (Up to 15 lbs): Select a high-density foam tape. You must distribute the load properly. Apply strips along the entire left, right, top, and bottom borders of the frame. The foam accommodates minor wall bumps, ensuring full contact.
Acoustic Foam Panels: Choose standard double-sided foam tape. Acoustic panels are highly porous. Thin tapes simply sink into the acoustic foam and fail to grab the wall. The thick carrier of foam tape provides the necessary surface area to bridge the porous panel and the wall.
Selecting the right double sided tape is ultimately an engineering decision. You are constantly balancing the mass of your decor against the fragility of your wall's paint. Understanding the difference between shear stress and peel stress helps you plan better installations. Matching the tape's carrier material to your wall's texture ensures a strong, lasting bond.
Before you commit to a full installation, take a precautionary step. Test your chosen tape in an inconspicuous area of the wall. Leave it for 48 hours, then remove it using the dental floss and heat method. This simple test confirms your paint's stability and protects your security deposit or home value.
A: To avoid paint peeling, use lightweight tissue tapes for paper items. For heavier items, look for specialized "damage-free" removable strips specifically formulated for painted drywall. You should strictly avoid heavy-duty acrylic construction tapes, as they will permanently bond to the paint layer and cause tearing upon removal.
A: Manufacturer weight ratings are calculated under optimal laboratory conditions. They usually test on solid metal or glass substrates, not painted drywall. For safety on standard residential drywall, you should always derate the manufacturer's stated capacity by 50%. This prevents the paint from separating from the wall under sustained loads.
A: LED strips generate continuous heat while illuminated. This heat causes thermal expansion and softens standard adhesive backings. Once the adhesive softens, gravity pulls the strips down. The solution is to use a heat-rated nano acrylic tape that maintains its chemical stability even at higher operating temperatures.
A: Avoid harsh chemical solvents like acetone, as they will dissolve your wall paint. Instead, apply low heat with a hairdryer to soften the residue. Then, use your thumb to gently roll the adhesive into a ball. For stubborn spots, dab a tiny amount of mild, citrus-based adhesive remover strictly on the residue.


